
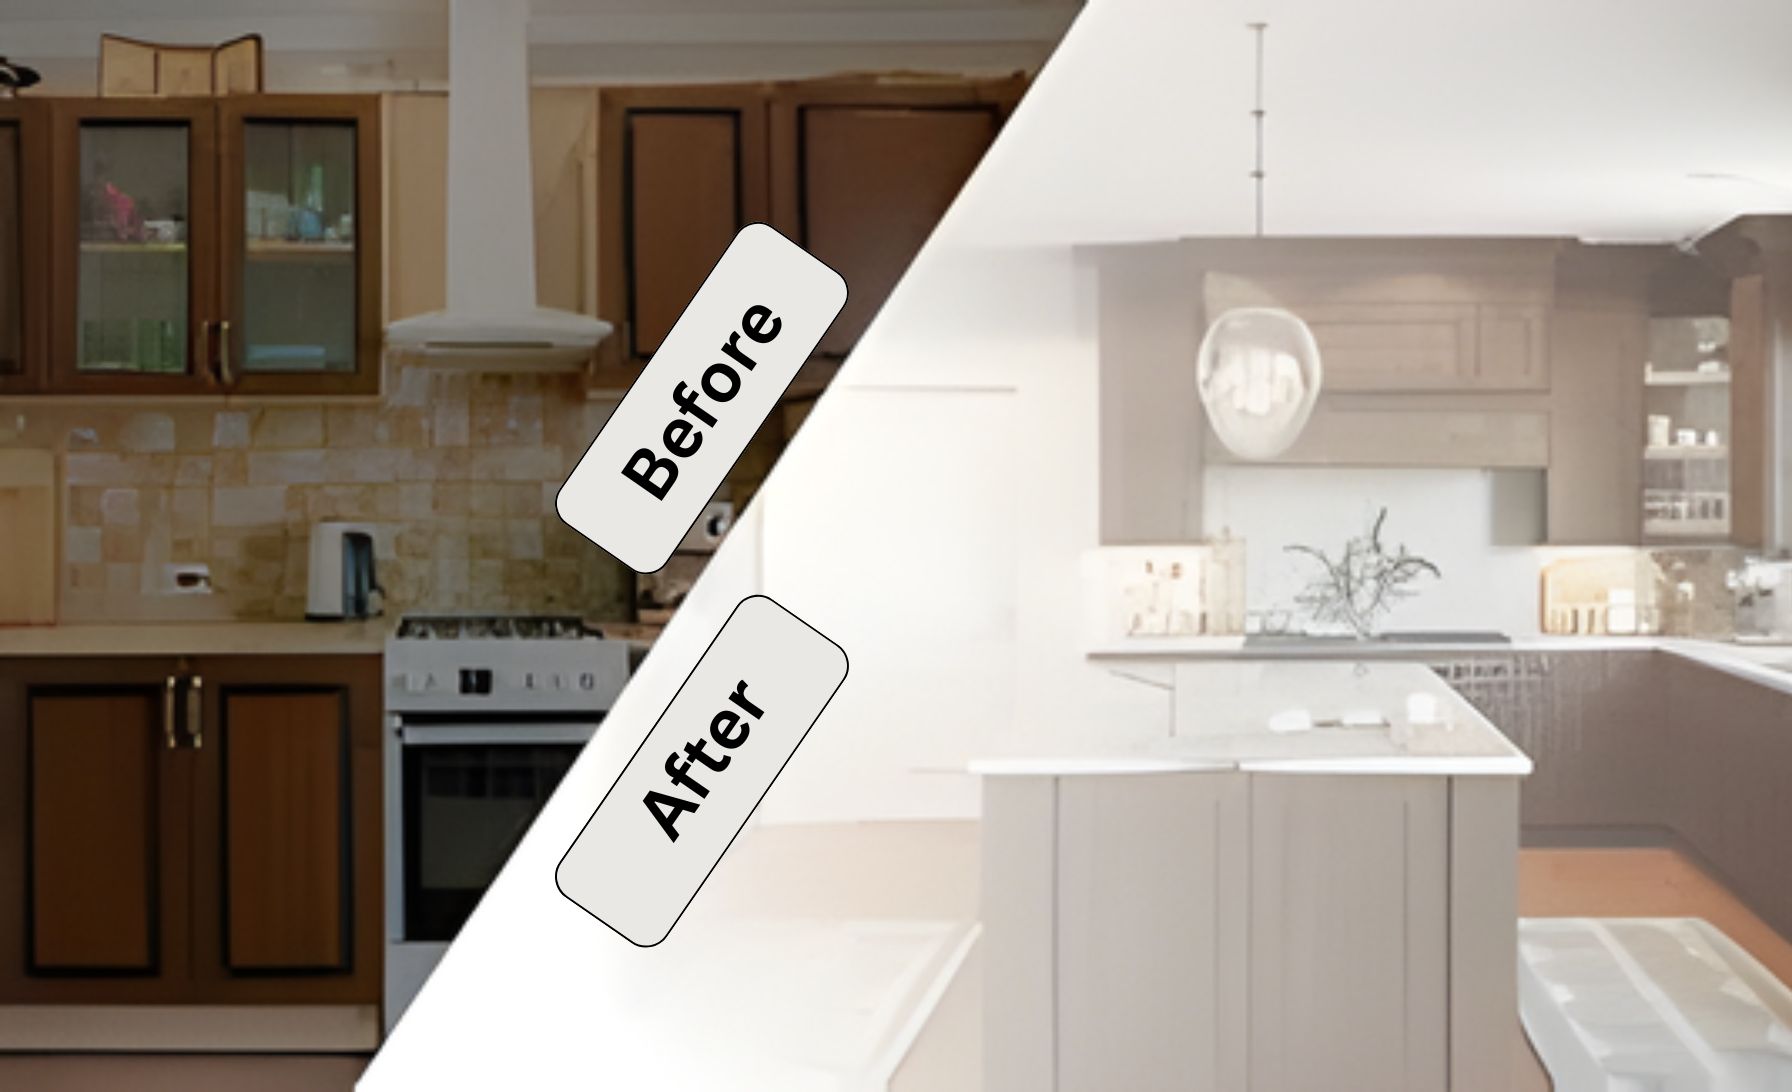
Having a new and refreshing kitchen is something that every homeowner desires. But a new look after a few years often turns into a full remodel when not guided properly. But smart homeowners understand that cabinet colors can make the existing kitchen look great. You can keep the cabinet boxes and layout intact. All you need to do is change only the surface you see each day. This approach blends design value with practical work. Tivoli Kitchen and Bathroom Design supports this approach because it protects your space, your budget, and your time. Here, we will guide you on changing kitchen cabinet color without stress or confusion.
How to Change Kitchen Cabinet Color?
Here are the simple methods that you can follow for changing kitchen cabinet color effortlessly. The purpose of this makeover is clear. We want you to keep the process in your control, reduce mistakes. So you can pick the method that fits your space, your budget, and your desired finish.
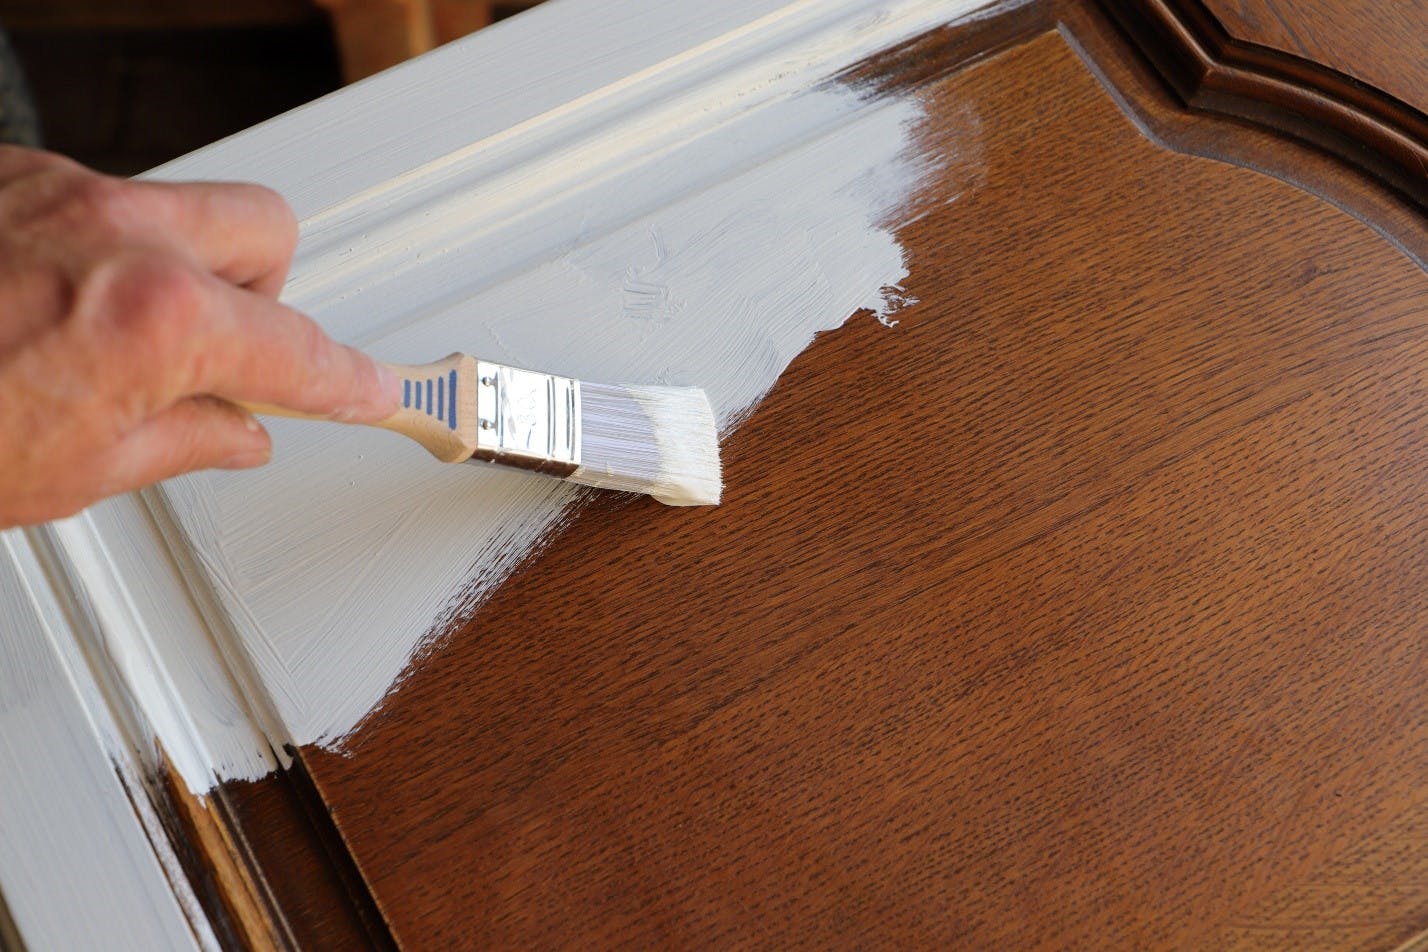
Method 1: Repainting Your Kitchen Cabinets
Repainting the upper cabinets and lower cabinets doors is the most common and most affordable way to change cabinet color. You will need to prepare properly to get a smooth, long-lasting finish. Once you paint your kitchen cabinets with the right finish, it will brighten the space.
Step 1: Clean the Cabinet Surface:
Oil and dust a common problems in most kitchen cabinets. Grease stickers to panels and corners. Opt for cleaning the surface with a degreaser. Keep the cleaning controlled and simple, as it can help the paint bond to the wood or laminate.
Step 2: Remove Doors and Hardware
- Remove the doors and hardware from the cabinets.
- Remove each door and secure the screws.
- Hinges should stay close to their original spots, as a slight mismatch in alignment will affect the door swing.
This will keep the process organized and prevent mismatched hardware, along with loose swing.
Step 3: Lightly Sand the Surface
- Use a medium-grit sandpaper to sand the doors. You only want to dull the shine.
- Opt for just a mild finish so the primer gets a better grip on the surface.
Step 4: Wipe Everything Clean
- Once the surface is sanded, wipe the surface clean with a damp cloth.
- Let everything dry before the next step.
Sanding creates dust, and it will ruin the paint, so prevent working on a dusty surface.
Step 5: Apply a Bonding Primer
- Spread a thin, even layer of binding primer.
Bonding primer works on wood, laminate, and MDF, so it supports most cabinet types. It also prevents stains from bleeding through. It also strengthens the paint coat.
Step 6: Paint With Cabinet-Grade Enamel
- Opt for a cabinet-grade enamel paint.
- Use thin coats with a foam roller on flat surfaces and a brush on corners and grooves.
- Two coats usually create a smooth finish.
- Let each coat dry fully before applying the next.
Step 7: Reattach Doors and Hardware
Once the paint cures:
- Reattach doors by aligning hinges.
- If you need to, adjust the door swing.
- Your kitchen now looks brighter, cleaner, and more balanced.
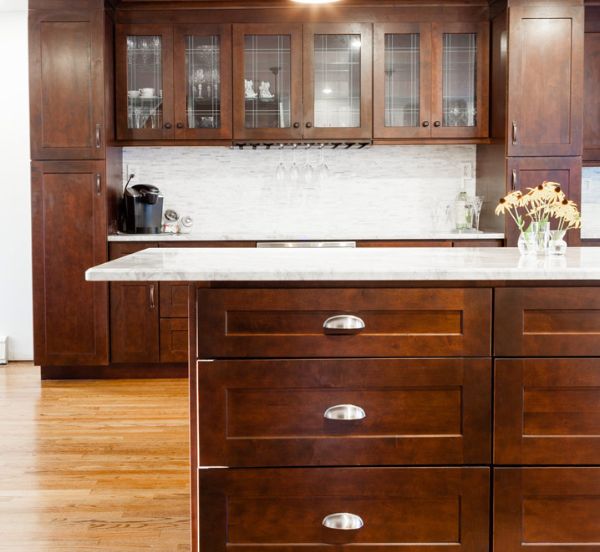
Method 2: Refinishing Your Kitchen Cabinets (Stain Instead of Paint)
If you have a solid wood build of your cabinet, then refinishing will restore its shine. However, if the existing cabinets don’t have a natural wood texture, then refinishing works better than painting. You remove the old stain and give the wood a new color. This method fits cabinets made from solid wood or high-quality wood veneer.
Step 1: Remove Doors and Label Hardware
Just like painting, start by:
- Removing doors.
- Label screws and hinges.
- Keep sections organized.
Step 2: Strip the Old Finish
- Use a wood-safe stripper to strip the existing finish.
- Apply an even layer.
- Scrape gently as the old finish softens.
- Work in small sections.
Your focus should be on the control and not the speed.
Step 3: Sand the Wood Clean
- Sanding removes leftover finish and smooths the wood.
- Use medium-grit first, then fine-grit.
- Move your sandpaper in one consistent direction to avoid scratches.
Step 4: Apply the New Stain
- Choose a stain color from walnut, espresso, natural oak, or ash gray.
- Stain works with the grain of the wood, not against it.
- Apply with a cloth or brush while wearing latex gloves to avoid messy hands.
- Wipe off excess.
- Each coat deepens the color.
Step 5: Seal the Wood
Wood lasts longer when you have sealed it properly.
- Apply a clear topcoat.
- Satin creates a warm tone.
- Semi-gloss creates a more reflective surface.
The topcoat shields the wood from moisture, heat, and daily wear.
Step 6: Reinstall the Doors
- Once the finish is dry, reinstall the doors and hardware.
- Your cabinets now have a fresh new color, while the original texture is retained.
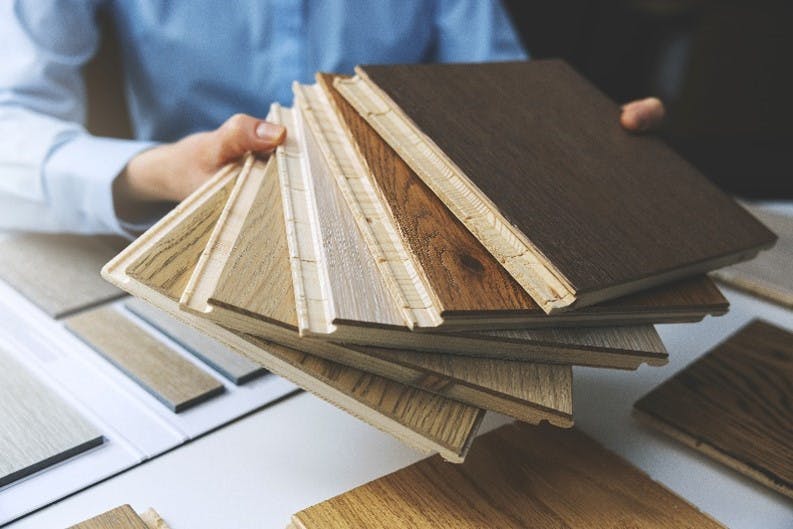
Method 4: Using Veneer or Laminate Over Existing Doors
This method works best for the kitchen with flat doors. Veneer or laminate creates a sleek surface with consistent color and texture.
Step 1: Clean the Doors
Remove the veneers and dust before starting, as the veneer bond works great on a clean surface.
Step 2: Lightly Scuff the Surface
Use the fine-grit sandpaper to lightly sand the surface. This will help the adhesive to grip the door.
Step 3: Cut the Veneer or Laminate
- Measure carefully.
- Cut clean edges.
- Precise cutting prevents peeling later.
Step 4: Attach the Veneer
- Follow the manufacturer’s adhesive.
- Press firmly to attach.
- Remove air bubbles with a roller.
Step 5: Trim Edges
- Trim excess with a sharp blade.
- Smooth the edges with fine sandpaper.
Step 6: Seal the Edges (If Required)
- Some surface types require edge sealing.
- This secures the veneers from moisture.
Step 7: Reinstall the Doors
Once the veneer bonds fully, reinstall the doors. You now have a modern, uniform color.
Tips To Improve Every Cabinet Color Change
Changing kitchen cabinet color can rejuvenate your kitchen look without adding more cost. However, you have to make sure that you have come up with the right idea.
- Pick the Right Finish
Satin and semi-gloss work great. They resist moisture and daily wear.
- Use Quality Produc
Primer and enamel paint extend the life of the finish.
- Upgrade the Hardwar
A new hardware change can make the cabinet color change even more improved.
- Choose Colors That Fit Your Lighting
Warm lighting suits greige, sage green, and oak. Cool lighting suits white, navy, and charcoal.
- Track Current Design Trends
Natural tones, Scandinavian neutrals, minimal hardware, and soft black shades remain strong in most kitchen designs.
FAQs About Changing Kitchen Cabinet Color
Let’s answer your question about changing the kitchen cabinet color.
What is the easiest way to change the kitchen cabinet color?
Painting is the most common and easiest method that doesn’t cost much. Just clean and sand the surface, use bonding primer, and apply cabinet-grade enamel.
Can the cabinet color be changed without removing doors?
Yes. But removing doors makes the process cleaner. It prevents paint drips and gives smoother coverage.
Does cabinet paint last long?
Five to ten years with quality enamel paint when proper prep and cleaning are used.
Is refacing better than repainting?
Refacing creates a factory-new look but costs more. Painting works well for budget-friendly updates.
Can I stain laminate cabinets?
No, laminate does not absorb stains. Paint or veneer works better.
How do I pick the right cabinet color?
Consider lighting, countertop material, backsplash color, and floor tone. Choose a color that strengthens the room’s balance.

Bottom Line
Changing kitchen cabinet color lets you enjoy a new kitchen without spending much. You don’t have to opt for a full renovation. You can use methods like paint, refinish, reface, or apply new veneer to enjoy a brand new look and feel in your kitchen. These methods allow homeowners to get the new and best look for their kitchen without experiencing any disruption.
Tivoli Kitchen and Bathroom Design recommends using these methods for those homeowners who do not want a total kitchen remodeling. These methods are easy to work with and perfect as a DIY project. Just make sure to choose the right paint finish if you want to paint the cabinet by yourself. However, if your kitchen has an awkward or impractical layout or old cabinets, then consult a kitchen renovation expert.


