
Do you want to align the entire kitchen with your style, but struggle to paint cabinets? If you are one of such people, you are at the right place. We have got you covered. Today, we will learn how you can efficiently paint the kitchen cabinets to achieve your desired look and a comfy appearance. So, let’s get started reading!
Step-by-Step Guide to Painting Kitchen Cabinets
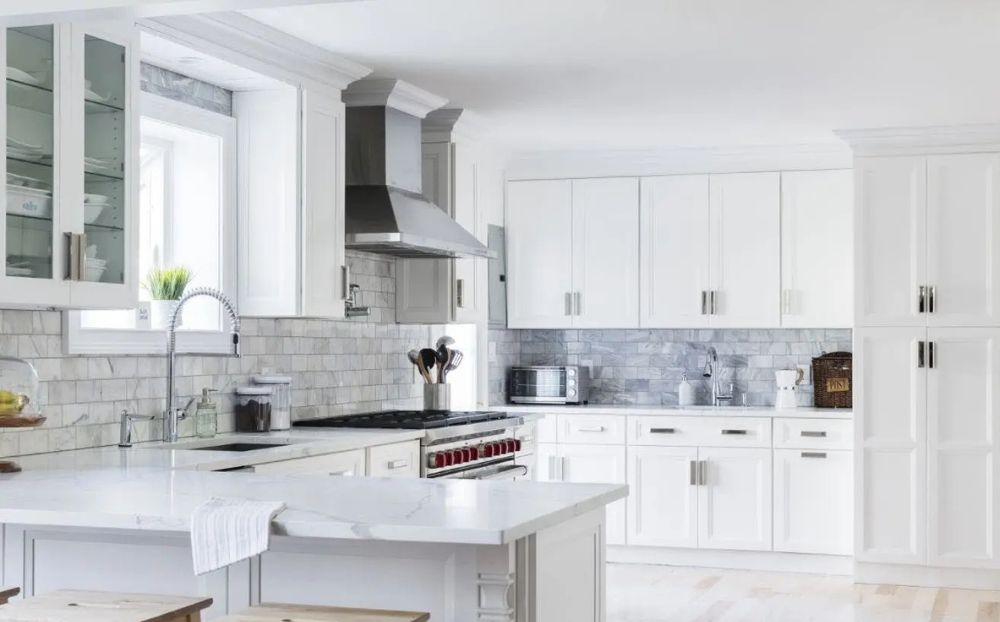
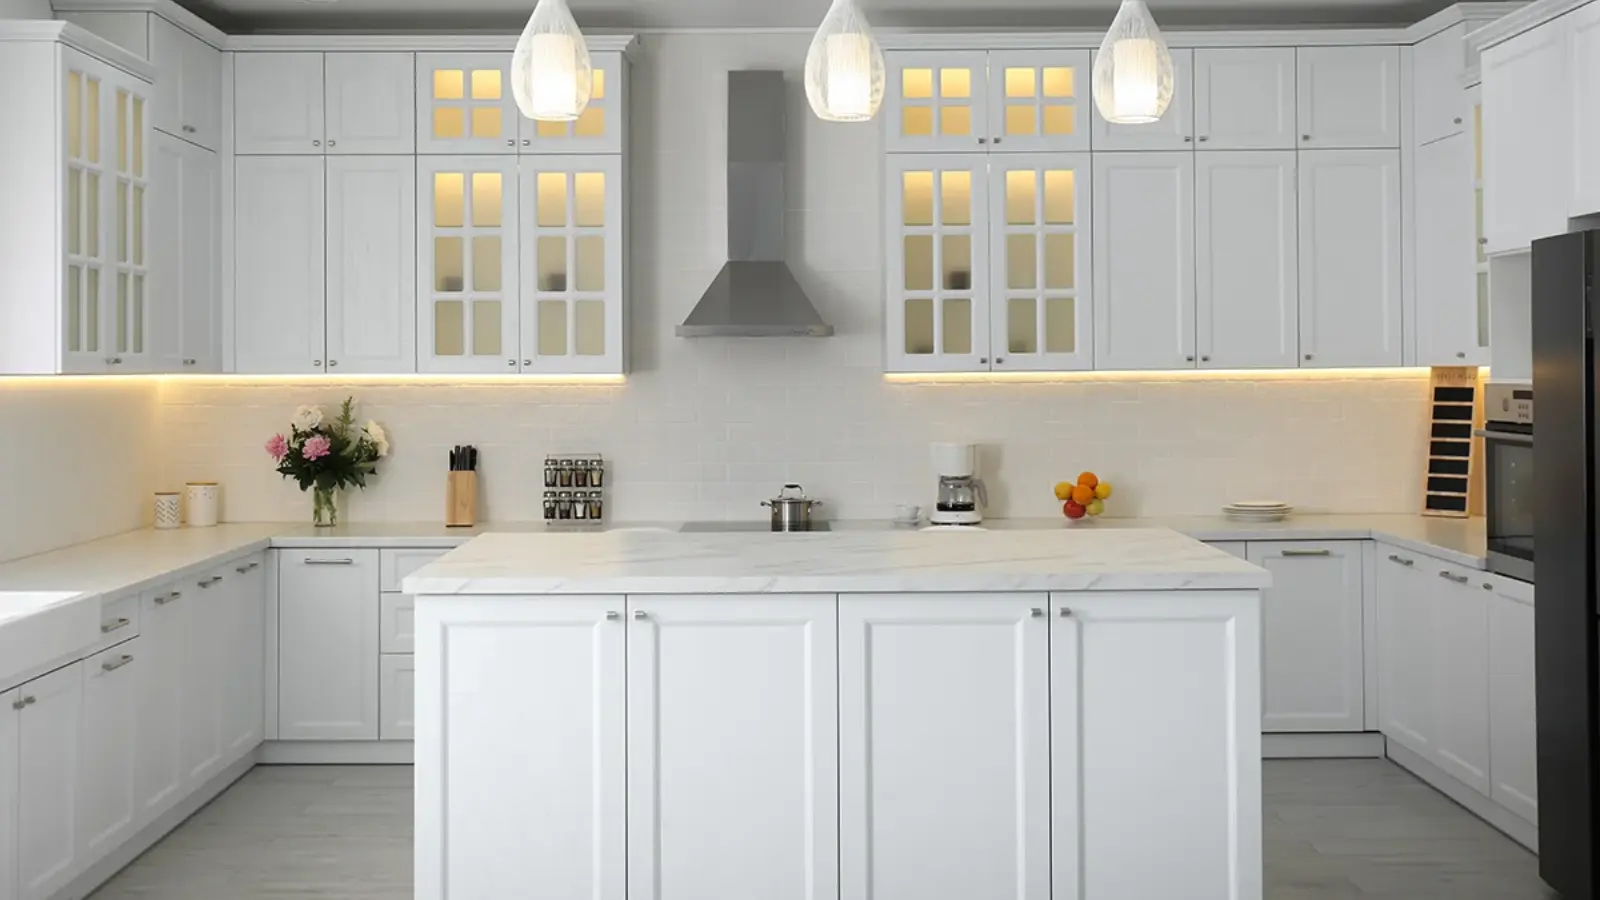
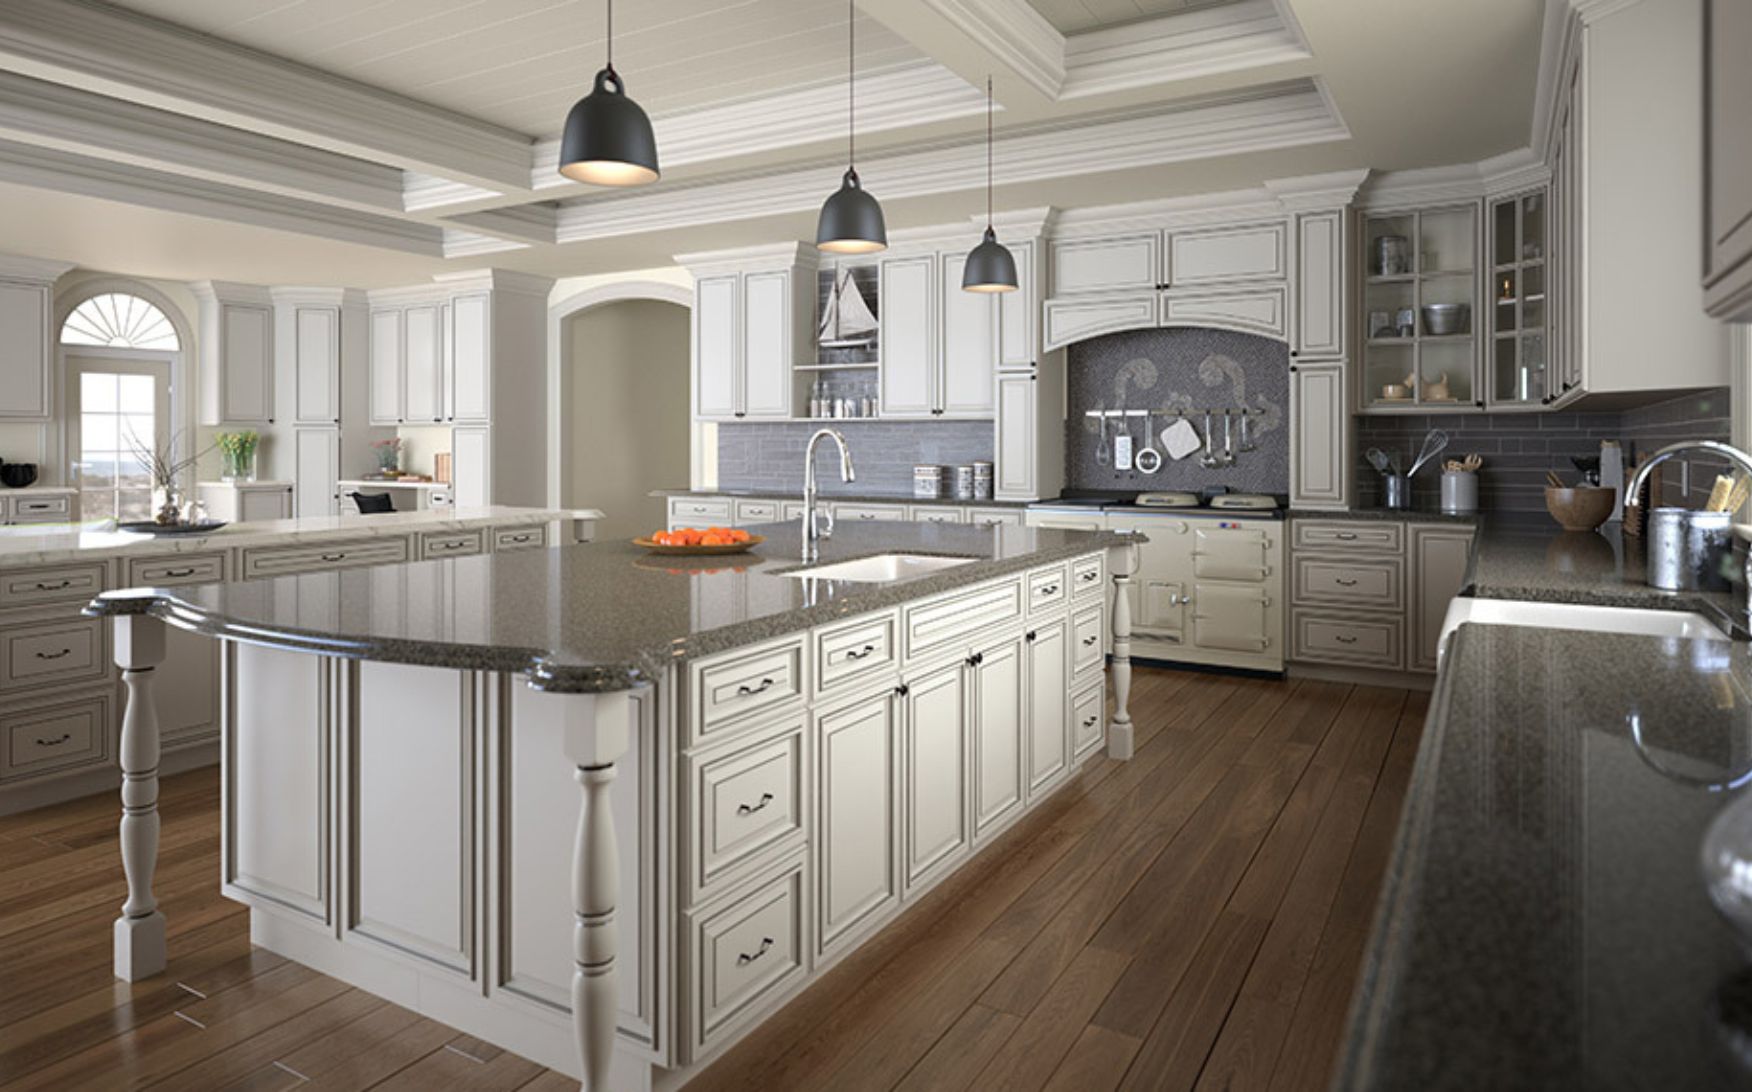
Painting cabinets becomes more interesting when you are bored and tired of working in the same appearance. It’s the easy and quick way to update your kitchen without much renovation. This not only refreshes its appearance, but also works as a better option than replacing the entire cabinetry. A fresh coat of paint turns the old cabinets into clean, modern, and brand-new drawers.
But the main issue is that painting them is not the same as painting a wall. Because if you don’t follow the right steps, creating the expected look may be difficult. And, in this way, the paint may feel chipped, peeling, or uneven. Therefore, you should properly understand and implement the following steps:
1: Remove cabinet doors and hardware
Step 1 of how to paint kitchen cabinets.
First of all, it’s better to remove cabinet doors and hardware, meaning handles and hinges. Don’t forget to keep the screws and parts in separate bags, as you need them again while reattaching. With this small method at the start, you can easily paint to achieve a smooth finish.
2: Clean and degrease surfaces
Step 2 of how to paint kitchen cabinets.
Then, you have to thoroughly clean the surfaces of all cabinets to remove grease, dirt, and buildup, especially those that are installed around cooking areas. If you are wondering how to remove grease from kitchen cabinets, you can use a mild cleaner or a degreaser for this purpose. Doing this is important, as if the grease does not remove properly, the paint may not stick or peel later. So, do not skip the cleaning part. After doing it, wait for the surfaces to dry completely instead of directly executing the next step.
3: Sand the cabinets
Step 3 of how to paint kitchen cabinets.
When you slightly sand the cabinets, its shine is removed, which would next help the paint to stick. To do this, use medium-grit sandpaper and try to smooth the uneven pattern of the cabin areas. The main aim is just to dull the existing finish instead of completely removing it. Before taking further action, you should wipe the dust after the sanding process.
4: Apply primer
Step 4 of how to paint kitchen cabinets.
Then, apply a high-quality primer on cabinet surfaces to ensure proper paint adhesion. This step helps to cover stains, discoloration, or previous finishes. Thinking about gadgets? You can simply use a brush or a roller that can apply an even coat to cover all areas. Don’t rush. Wait for the primer to dry.
5: Paint the cabinets
Step 5 of how to paint kitchen cabinets.
After drying the primer, you can start painting the cabinets with new paint. Select among brush, roller, or sprayer, whichever you think works better for obtaining a desired look. Paint each part evenly, including edges and corners. During this procedure, allow the first coat to fully adhere and dry before applying the next one.
6: Apply second coat
Step 6 of how to paint kitchen cabinets.
Apply the second coat only when the first one is dry. Practicing the second layer can help in full coverage of an even finish. Make sure the strokes are aligned the same way as the first layer. A buildup can be created during this process that can ruin the overall appearance, so be careful.
7: Reassemble cabinets
Step 7 of how to paint kitchen cabinets.
After some time, when the cabins are fully cured, pick the box you chose earlier to keep the screws and hinges. It’s time to reattach the separated parts. Make sure all parts, including hardware, screws, and the door, are properly fitted for smooth function in the kitchen area.
Essential Tools For Successfully Painting Cabinets
We have discussed the different tools during the painting steps. You may be wondering which ones are essential to effectively execute each step. The following are all of them discussed:
- Screwdriver or Drill: Helps to remove cabinet doors, drawers, and hardware.
- Cleaner or Degreaser: Remove grease, dirt, and buildup before painting.
- Sandpaper (Medium & Fine Grit): Smooth the surface and help the paint stick properly.
- Primer: Creates a good base for painting and improves adhesion.
- Paint (Cabinet-Specific or Durable Paint): Choose a high-quality paint to enjoy your desired look for long-lasting.
- Brushes and Rollers: Brushes may be best for edges and corners, whereas rollers are effective for flat surfaces.
- Paint Tray: For easy and even paint application.
- Clean Cloth or Tack Cloth: Wipe dust after sanding.
- Painter’s Tape: In case you don’t want to paint specific areas.
Common Mistakes to Avoid
When you avoid mistakes or follow careful strategies, it greatly impacts how your cabinetry shapes. So, let’s learn the vital things you have to prevent while painting your house’s cabinetry:
- Do not skip cleaning, as it results in poor paint adhesion and peeling over time.
- Likewise, this can also happen when you do not sand the surfaces, especially of satin and gloss cabinets.
- Some people skip applying primer to rapidly get free, but it may cause uneven coverage and weak paint bonding.
- The other big mistake is to coat heavily, which should be avoided. Always apply a thin layer of paint to maintain balance among areas and give them a consistent look.
- Whenever I instruct you to wait for drying in the upper-mentioned steps, make sure to follow them during execution. Otherwise, you may see smudges and damage on the drawers.
- Lastly, you have to ensure that the paint you are opting for is of high-quality. Low-quality paints reduce durability or may not last long.
How to Maintain Painted Cabinets?
You may not be aware of how to keep newly painted kitchen cupboards, right? Adopting simple habits maintains them in a real and clean condition for a longer period. Here are a few of them discussed:
Clean Cabinets Regularly
To remove daily dust and spots that occur during cooking, simply bring a soft cloth and mild cleaner. This is one of the easiest ways to clean kitchen cabinets and keep them free from grease, stains, and bacteria. If you do this regularly, the paint can remain in its original form for a long period, looking fresh while giving the feel of a new kitchen. Now, if some individuals do not perform kitchen activities daily, then there is a chance of lower spots. In this case, you can delay cleaning for a week or 3-4 days.
Avoid Harsh Chemicals
Abrasive material or harsh cleaners often damage the paint. Therefore, you should not consider them for cleaning. Sticking just to gentle, soft products is a good way to protect the paint.
Handle with Care
Within the cabinet surfaces, do not drag sharp objects, like knives and forks. Plus, always open doors with care. This gentle behavior helps to avoid chips and scratches from appearing quickly.
Fix Chips and Scratches Early
With proper care habits, it’s almost unlikely that the chips or scratches would ever pop up. But if you notice them somewhere, a smart way is to fix them with a quick touch-up to prevent further damage and make the overall surface look clean.
Keep Cabinets Dry
Wood is significantly affected by moisture. So, you have to keep them safe from even water. Ignorance of moisture can weaken the appearance of the paint with the passage of time.
Use Soft Cleaning Tools
As I mentioned before, you should use the soft detergents for cleaning. Likewise, you have to be mindful of the tool grabbing for making kitchen cabinets clean. In this regard, soft cloths or sponges work better.
Paint Kitchen Cabinets FAQs
There are some questions we have been getting to hear from our users. The following are their answers:
What is the best time or weather to paint cabinets?
Considering weather and the time before painting is a smart idea. The best time is when the temperature is moderate and the humidity is low. That’s because when there is too much moisture in the air, drying and final finish may be affected.
Can I change dark cabinets to a light color?
Yes, you can change dark cabinets into light ones. For this purpose, you may need multiple coats and a good primer to fully cover the darker shade.
How do I avoid brush marks while painting?
Sometimes, brushes make marks while painting. To avoid this, use the quality tools, avoid heavy paint layers, and apply the finish in only one direction.
Is it necessary to paint the inside of cabinets?
No, painting drawers from the inside is not important. It totally depends on how you want the look; paint the exterior only or include the inside part as well.
How long should I wait to use the cabinets after painting?
Even if the cabin feels dry, you should wait for a few days to use them, so the paint can properly cure.

Bottom Line
I hope that you know now how to paint kitchen cabinets easily without needing to approach a professional. By following the given steps, you can paint any house drawers. It’s not a big deal, just follow the instructions, pick the best tools, and take every step with full care, as mentioned in the article. After finishing painting, attach the separated parts when the paint is dry. Make sure they are properly cured and functioning before installing them again at their place. Moreover, follow the care steps to enjoy the fresh look of the paint for a long time. For more ideas and expert insights on kitchen cabinets and materials, you can also explore Tivoli Kitchen & Bathroom Design.


